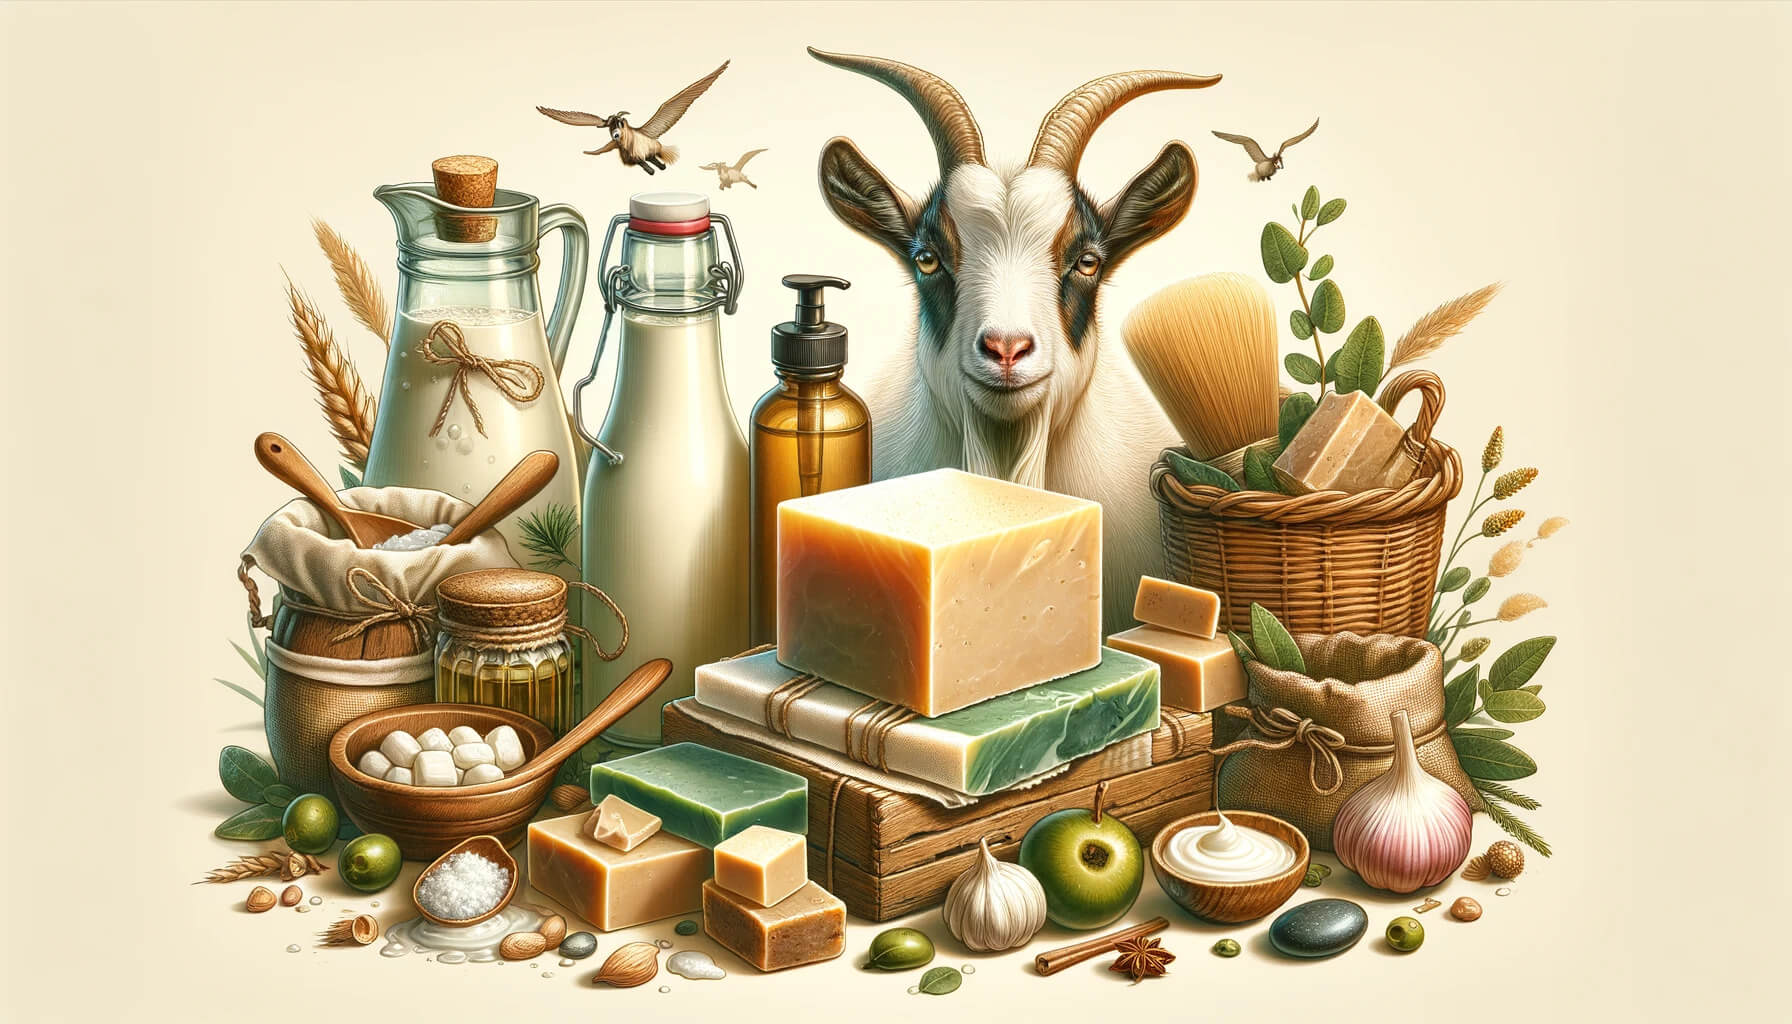
Goat Milk

- Exploring the Creamy Luxe: Incorporating Goat Milk into Handmade Soaps
- Why Goat Milk?
- Crafting Goat Milk Soap
- Conclusion
Exploring the Creamy Luxe: Incorporating Goat Milk into Handmade Soaps
In the expansive world of soap making, goat milk holds a revered spot, celebrated for transforming the simple act of cleansing into a luxurious skincare experience. Rich in nutrients and boasting a creamy texture, goat milk soap caters to a wide range of skin types and concerns. This blog post delves into the why and how of using goat milk in handmade soaps, highlighting its benefits and providing a basic guide to crafting your own nourishing bars at home.
Why Goat Milk?
Goat milk is more than just a hydrating ingredient; it’s a powerhouse of vitamins (A, B1, B6, B12, C, D, E), minerals, and fatty acids that nourish the skin deeply. Its creaminess lends a luxurious feel to the soap, providing a moisturizing cleanse that doesn’t strip the skin of its natural oils. Moreover, the gentle exfoliating action of lactic acid in goat milk helps in removing dead skin cells, making the skin appear smoother and more radiant.
A Closer Look at Benefits:
Moisturizing: The high-fat content in goat milk adds a creamy lather that deeply moisturizes the skin.
Gentle Exfoliation: Lactic acid, a natural AHA, gently sloughs away dead skin cells, promoting a smooth, youthful complexion.
Soothing Properties: Ideal for sensitive or irritated skin, goat milk has anti-inflammatory properties that help soothe conditions like eczema and psoriasis.
Rich in Nutrients: Packed with essential vitamins and minerals, goat milk nourishes the skin, supporting its natural barrier and promoting overall health.
Crafting Goat Milk Soap
Making goat milk soap may seem daunting, but with the right ingredients and a bit of patience, anyone can create a batch of creamy, skin-loving bars. Here’s a simplified guide to get you started:
Ingredients:
- Goat milk (fresh or powdered)
- Lye (sodium hydroxide)
- A blend of oils (such as olive oil, coconut oil, and shea butter)
- Essential oils for fragrance (optional)
- Additives for color or texture (optional)
Steps:
- Prepare the Lye Solution: Carefully mix lye with goat milk, ensuring the milk is cold to prevent scorching. Goat milk lye solutions tend to heat up quickly, so it’s crucial to keep the mixture cool, possibly by setting your container in an ice bath.
- Melt and Mix Oils: Gently heat your chosen oils until they’re fully melted and allow them to cool to the appropriate temperature.
- Combine Lye Solution with Oils: Slowly add the goat milk lye solution to the oils, stirring until the mixture reaches “trace,” indicating it’s ready for molds.
- Add Extras: Incorporate any fragrances, colors, or additives, mixing thoroughly.
- Pour into Molds: Carefully pour the mixture into molds, cover with plastic wrap, and wrap in towels for insulation.
- Cure: Allow the soaps to set in the molds for 24-48 hours before unmolding. Cure the bars on a rack for 4-6 weeks to harden.
Tips for Success:
Temperature Control: Managing temperatures is crucial when working with goat milk to preserve its benefits and prevent scorching.
Experiment: Don’t be afraid to experiment with different oil blends and additives to create a soap that’s perfectly tailored to your skin’s needs.
Conclusion
Incorporating goat milk into your soap making not only elevates the quality of your bars but also offers a host of benefits to the skin. Whether you’re a seasoned soap maker or a curious beginner, the creamy luxe of goat milk soap is within reach, ready to transform your skincare routine into a daily indulgence. With each lather, embrace the nourishing embrace of nature’s most wholesome milk, and let your skin revel in its newfound radiance.
